
Winterizing Your Boat: Essential Steps for Off-Season Protection
As the days grow shorter and the crisp autumn air whispers promises of colder weather, a seasoned boater knows there’s one crucial task before putting the vessel to bed for the winter: winterizing. This isn’t just a chore; it’s an investment in your boat’s longevity and your peace of mind. Neglecting proper winterization can lead to costly repairs, from cracked engine blocks to burst pipes, all caused by freezing temperatures. Whether you own a nimble day sailer under 25 ft like a Catalina 22, a comfortable cruiser 30–40 ft such as a Beneteau Oceanis or Hunter 33, or a robust bluewater 40+ ft Lagoon catamaran, protecting your vessel from the elements is paramount.
Table Of Content
- The Golden Rule of Winterizing: Prevent Freezing and Corrosion
- Step 1: Haul-Out and Hull Preparation
- Step 2: Engine and Propulsion System Winterization – The Heart of Your Boat
- Step 3: Freshwater and Wastewater Systems
- Step 4: Sails, Rigging, and Deck Gear
- Step 5: Interior and Exterior Protection
- Your Boat’s Off-Season Haven Awaits
Think of it like this: your boat isn’t just a machine; it’s a vessel for freedom, family memories, and endless adventures. Taking the time now to properly prepare it ensures that those sunsets on the horizon and the thrill of wind in the sails are waiting for you, reliable and ready, come spring. So, grab a warm drink, and let’s walk through the essential steps to protect your marine investment.
The Golden Rule of Winterizing: Prevent Freezing and Corrosion
The core purpose of winterization is to prevent damage from freezing water expanding within your boat’s systems and to mitigate corrosion that can occur during prolonged storage. This involves draining fluids, replacing them with antifreeze, and ensuring all critical components are properly protected.
Step 1: Haul-Out and Hull Preparation
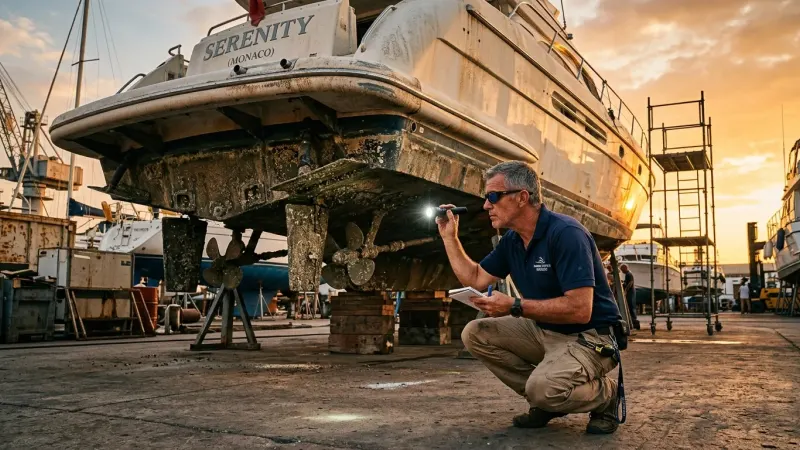
- Haul-Out: For most boats, especially those in regions with freezing temperatures, a haul-out (removing the boat from the water) is the first step. This allows for thorough hull inspection and maintenance.
- Clean the Hull: Give your hull a good scrub to remove marine growth, barnacles, and scum. This is easier now than in spring. Inspect your hull – whether it’s a sturdy fiberglass displacement hull or a sleek aluminum planing hull like those found on some Axopar 28 models – for any dings, blisters, or damage. Address minor repairs now.
- Bottom Paint: Inspect your anti-fouling bottom paint. If it’s nearing the end of its life, consider prepping it for a fresh coat in spring, or even applying it now if conditions allow.
- Sacrificial Anodes (Zincs): Check your sacrificial anodes (often called “zincs,” though they can be other metals). These corrode instead of your boat’s metal components. Replace any that are more than 50% depleted to ensure your boat’s underwater metals are protected from galvanic corrosion.
- Drain Water from the Bilge: Ensure your bilge is completely dry and clean to prevent mold and mildew.
Step 2: Engine and Propulsion System Winterization – The Heart of Your Boat
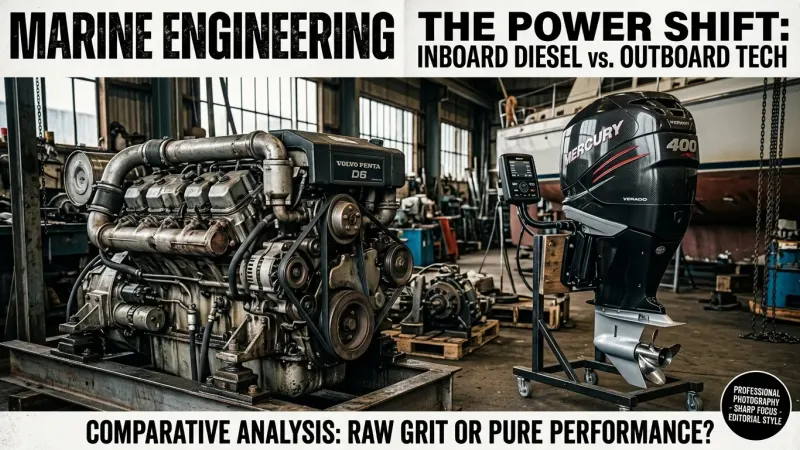
This is arguably the most critical step. Water left in an engine block or cooling system can freeze, expand, and crack the engine, leading to catastrophic damage. Whether you have an inboard diesel (common brands include Yanmar and Volvo Penta), an outboard motor, or a saildrive, the principles are similar:
- Stabilize Fuel: Add a marine-grade fuel stabilizer to your fuel tank and run the engine for 10-15 minutes to ensure the treated fuel circulates through the entire fuel system. This prevents fuel degradation and gumming.
- Change Engine Oil and Filter: Old oil contains contaminants and acids that can corrode internal engine parts during storage. Change the oil and filter while the engine is warm.
- Engine Flushing and Antifreeze:
- Outboard Motors: Flush the engine with fresh water using “muffs” or a dedicated flushing port, then introduce non-toxic marine-grade antifreeze into the cooling system. Follow your manufacturer’s specific instructions for fogging the cylinders and draining the carburetor (if applicable).
- Inboard/Saildrive Engines: Close the raw water intake seacock. Run the engine with a freshwater flush, then introduce non-toxic marine-grade antifreeze (ensure it’s safe for your engine type) through the raw water intake until it discharges from the exhaust. This displaces all raw water.
- Fogging Cylinders: For gasoline engines, “fogging” the cylinders with a fogging oil prevents rust on cylinder walls during storage.
- Gear Lube: Check and change the lower unit gear lube for outboards and sterndrives, inspecting for water intrusion (milky appearance).
- Remove Engine Batteries: Disconnect and remove batteries. Clean terminals, fully charge them, and store them in a cool, dry place, ideally on a trickle charger or with regular recharging.
Maintenance Tip: Remember, engine service (like oil changes) is typically recommended every 100-200 hours of operation or annually, whichever comes first. Winterization is the perfect time for this annual service.
Step 3: Freshwater and Wastewater Systems
These systems are highly vulnerable to freezing.
- Drain All Water: Open all faucets, showerheads, and drain plugs. Use compressed air to blow out lines if possible.
- Antifreeze: Pump non-toxic marine-grade antifreeze through all freshwater lines. Ensure it comes out of every faucet until it runs pink. Don’t forget your hot water heater (bypass it first, drain it, then pump antifreeze through the bypass).
- Head/Holding Tank: Flush the marine head with fresh water, then add antifreeze to the holding tank and pump it through the discharge lines. Empty and clean the holding tank thoroughly before adding antifreeze.
- Bilge Pump: Disconnect the bilge pump hose from the through-hull fitting and ensure it’s dry.
Step 4: Sails, Rigging, and Deck Gear
For sailboats, protecting your canvas and rigging is key to their longevity.
- Remove and Store Sails: Take down all sails (mainsail, genoa, spinnaker). Clean them thoroughly, inspect for damage, and fold them loosely. Store them in a dry, rodent-free environment. This applies whether you have a traditional Bermuda rig or a classic gaff rig.
- Clean and Inspect Rigging: Wash down standing and running rigging. Inspect all lines, blocks, and hardware for wear and tear. Remove any removable lines and store them.
- Deck Gear: Clean and lubricate winches, blocks, and other deck hardware. Cover or remove electronics.
Step 5: Interior and Exterior Protection
- Clean and Ventilate: Clean the interior thoroughly. Remove all food, linens, and anything that can mold or attract pests. Open lockers and drawers to allow for air circulation.
- Dehumidify: Place moisture absorbers (like DampRid) throughout the cabin to prevent mildew. If storing ashore, consider a small dehumidifier with a drain.
- Pest Control: Use appropriate pest deterrents to keep rodents and insects out.
- Cover Your Boat: Invest in a good-quality boat cover that allows for ventilation. This protects your boat from snow, ice, UV rays, and debris.
Your Boat’s Off-Season Haven Awaits
By following these steps, you’re not just winterizing; you’re safeguarding your investment and ensuring that your boat, whether it’s a classic Herreshoff design or a modern sportfish like a Boston Whaler or Grady-White, is ready for countless more adventures. This comprehensive process, from hull care to engine protection, ensures that come spring, your vessel will be primed for launch, eager to carry you away on new journeys.
Don’t hesitate to consult your boat’s owner’s manuals for specific instructions unique to your model and its components. If you’re unsure about any step, especially engine winterization, consider hiring a certified marine mechanic. A small investment in professional help now can save you thousands later.
So, take pride in this annual ritual. When spring arrives, you’ll be among the first to cast off, confident that your boat is sound, reliable, and ready to make new memories. The open water awaits!